Hello!
A few quick admin notes:
And now, building!
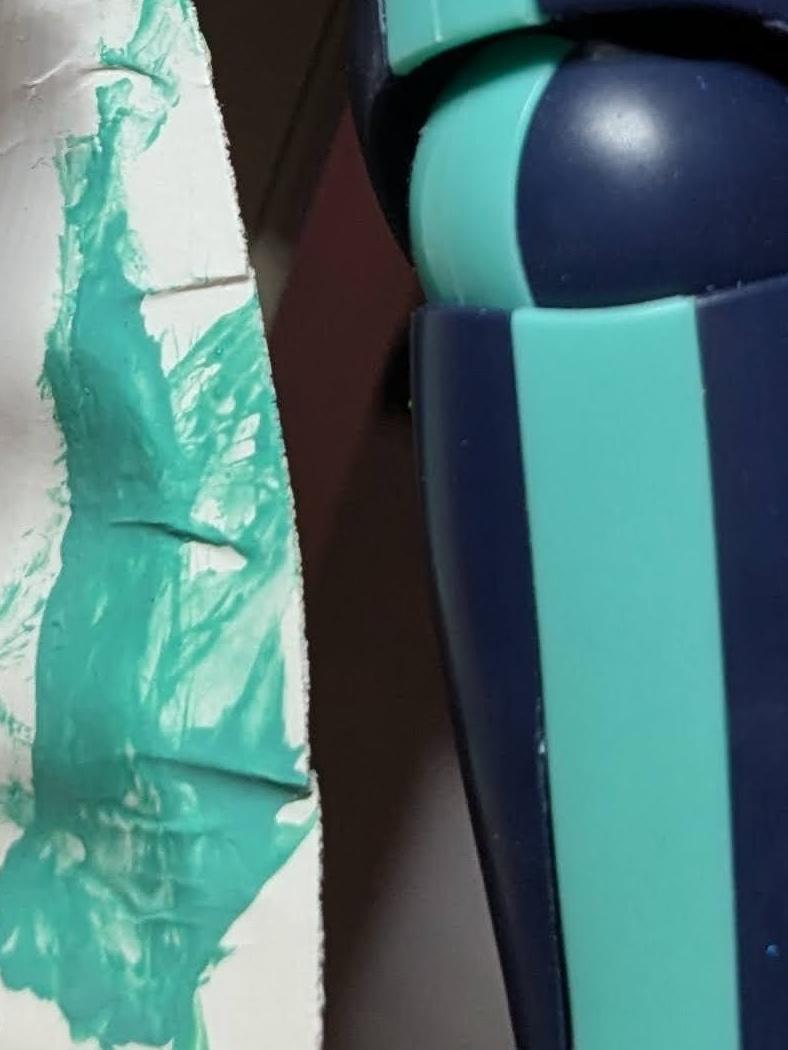
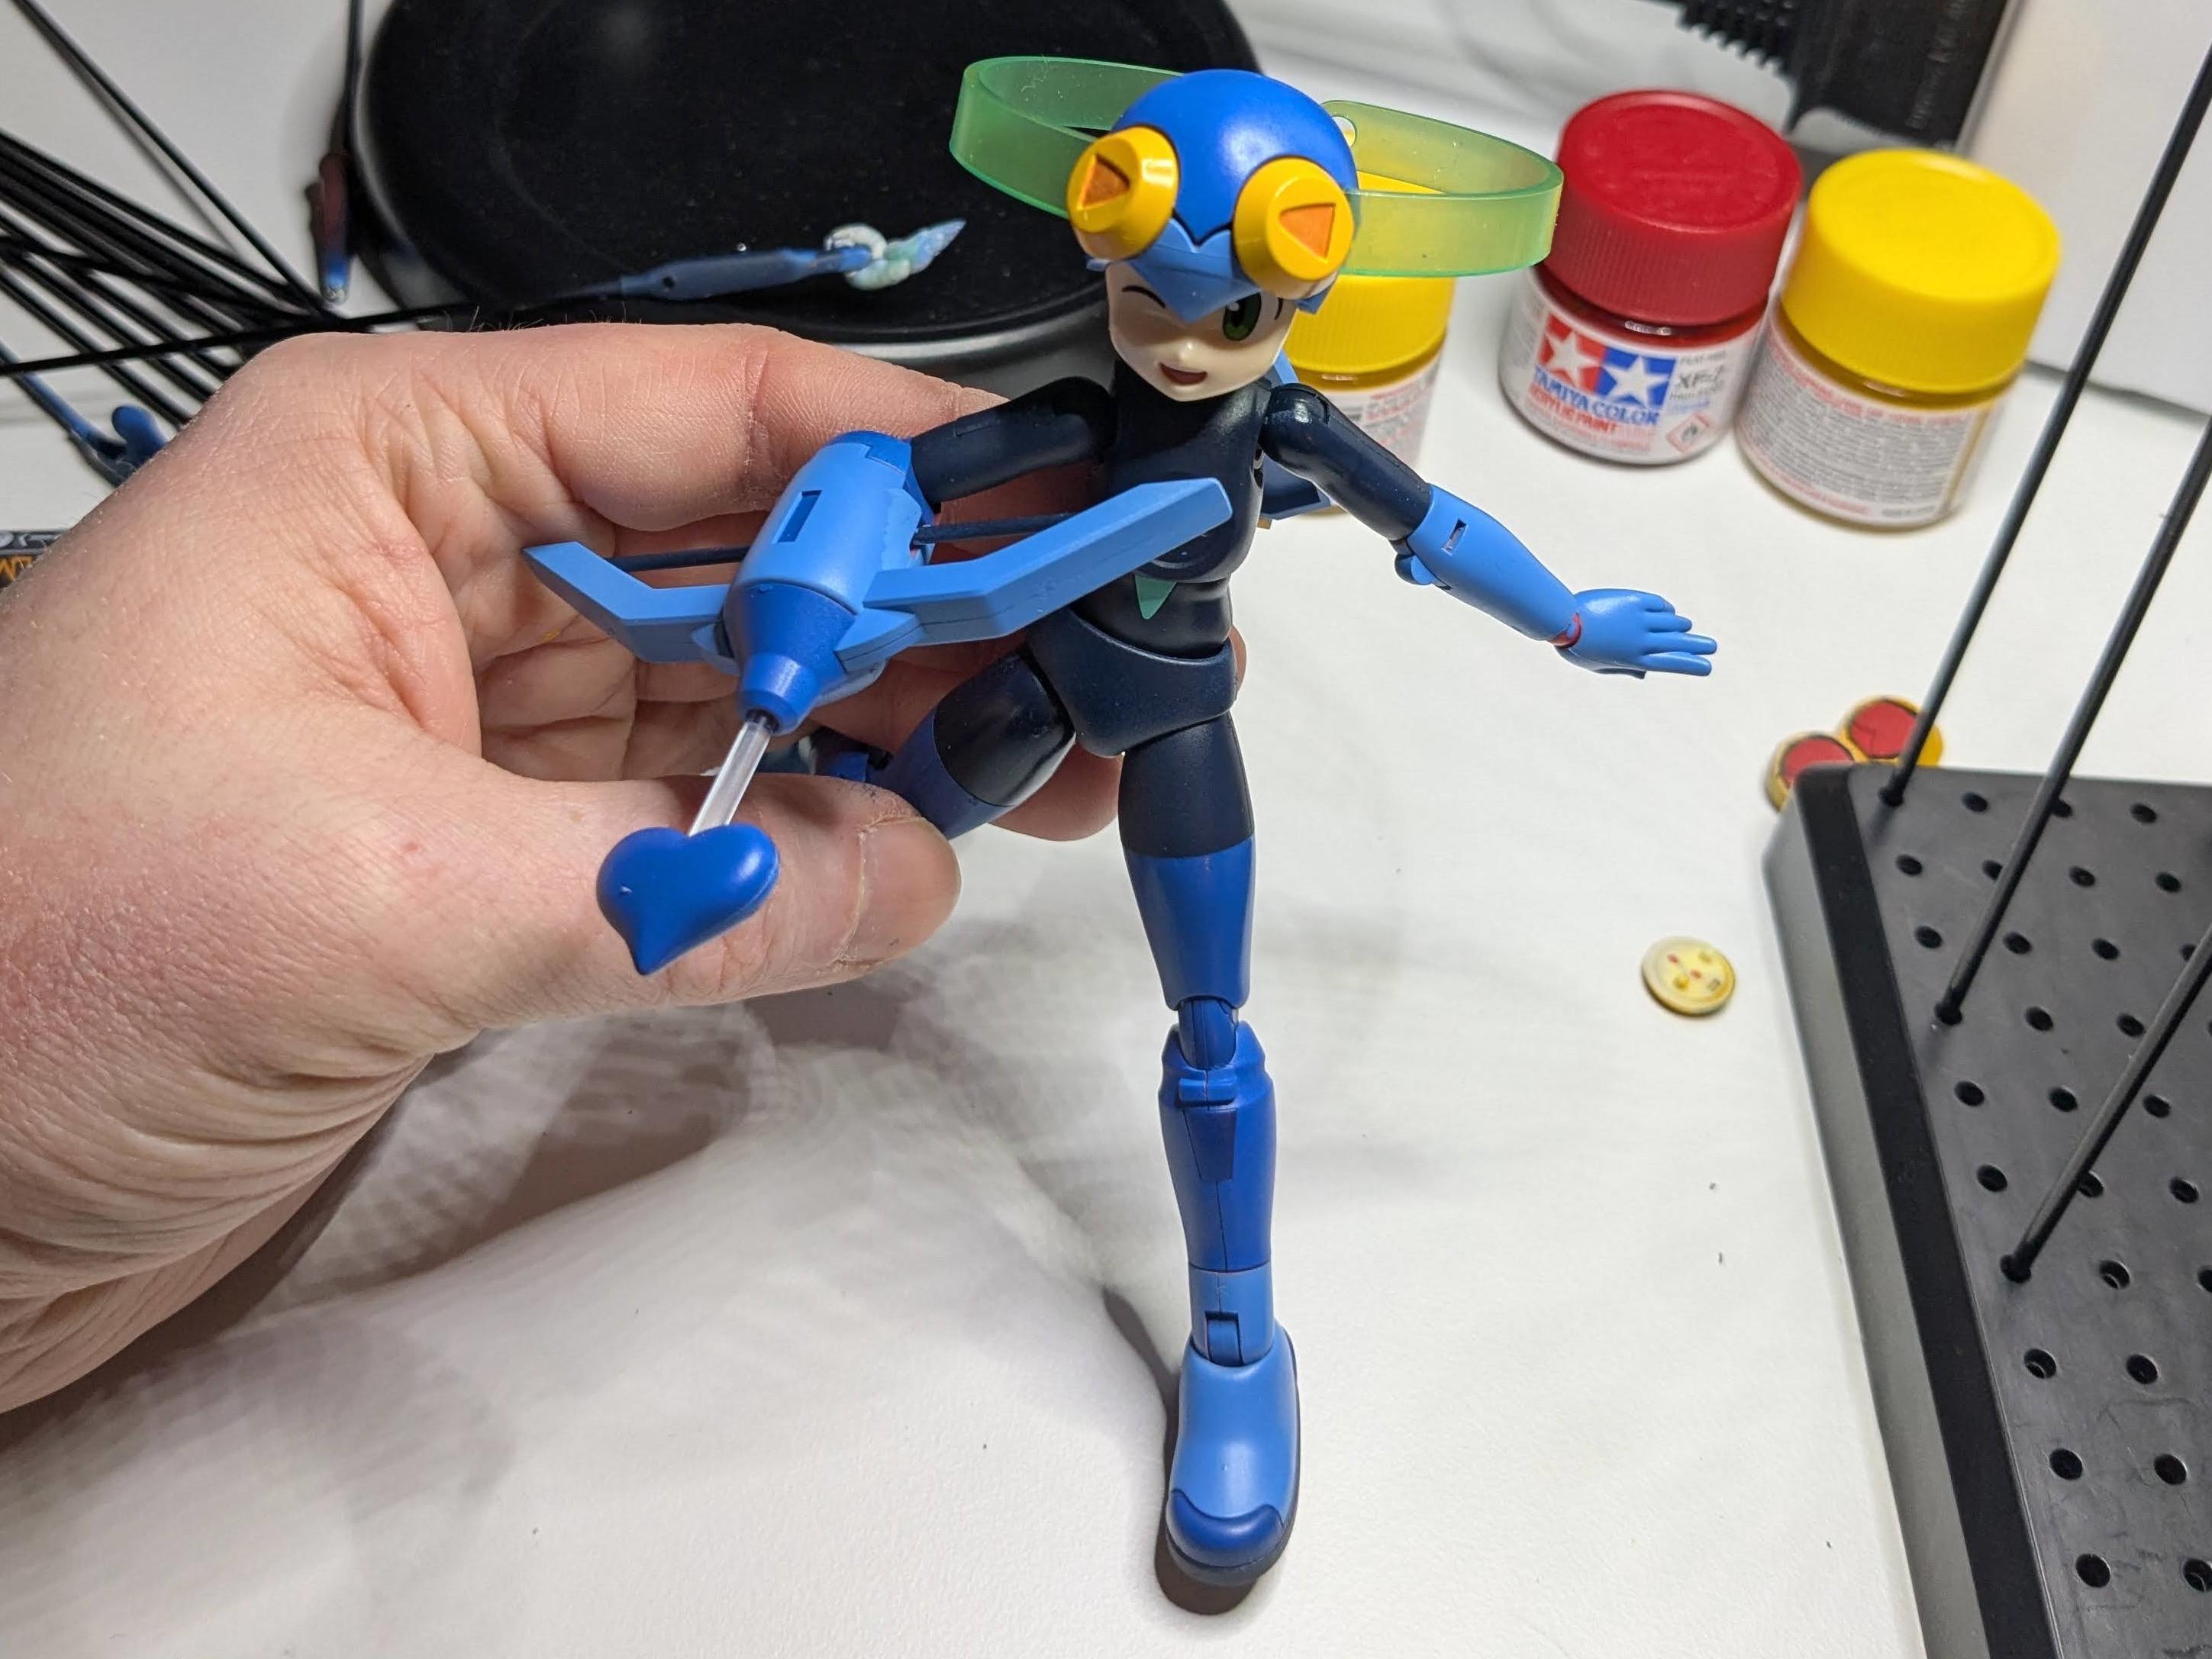
I've been working on color swapping a Roll.exe model kit to match MegaMan.exe
Which meant mixing paints to try to get the right colors.
|
|
|---|
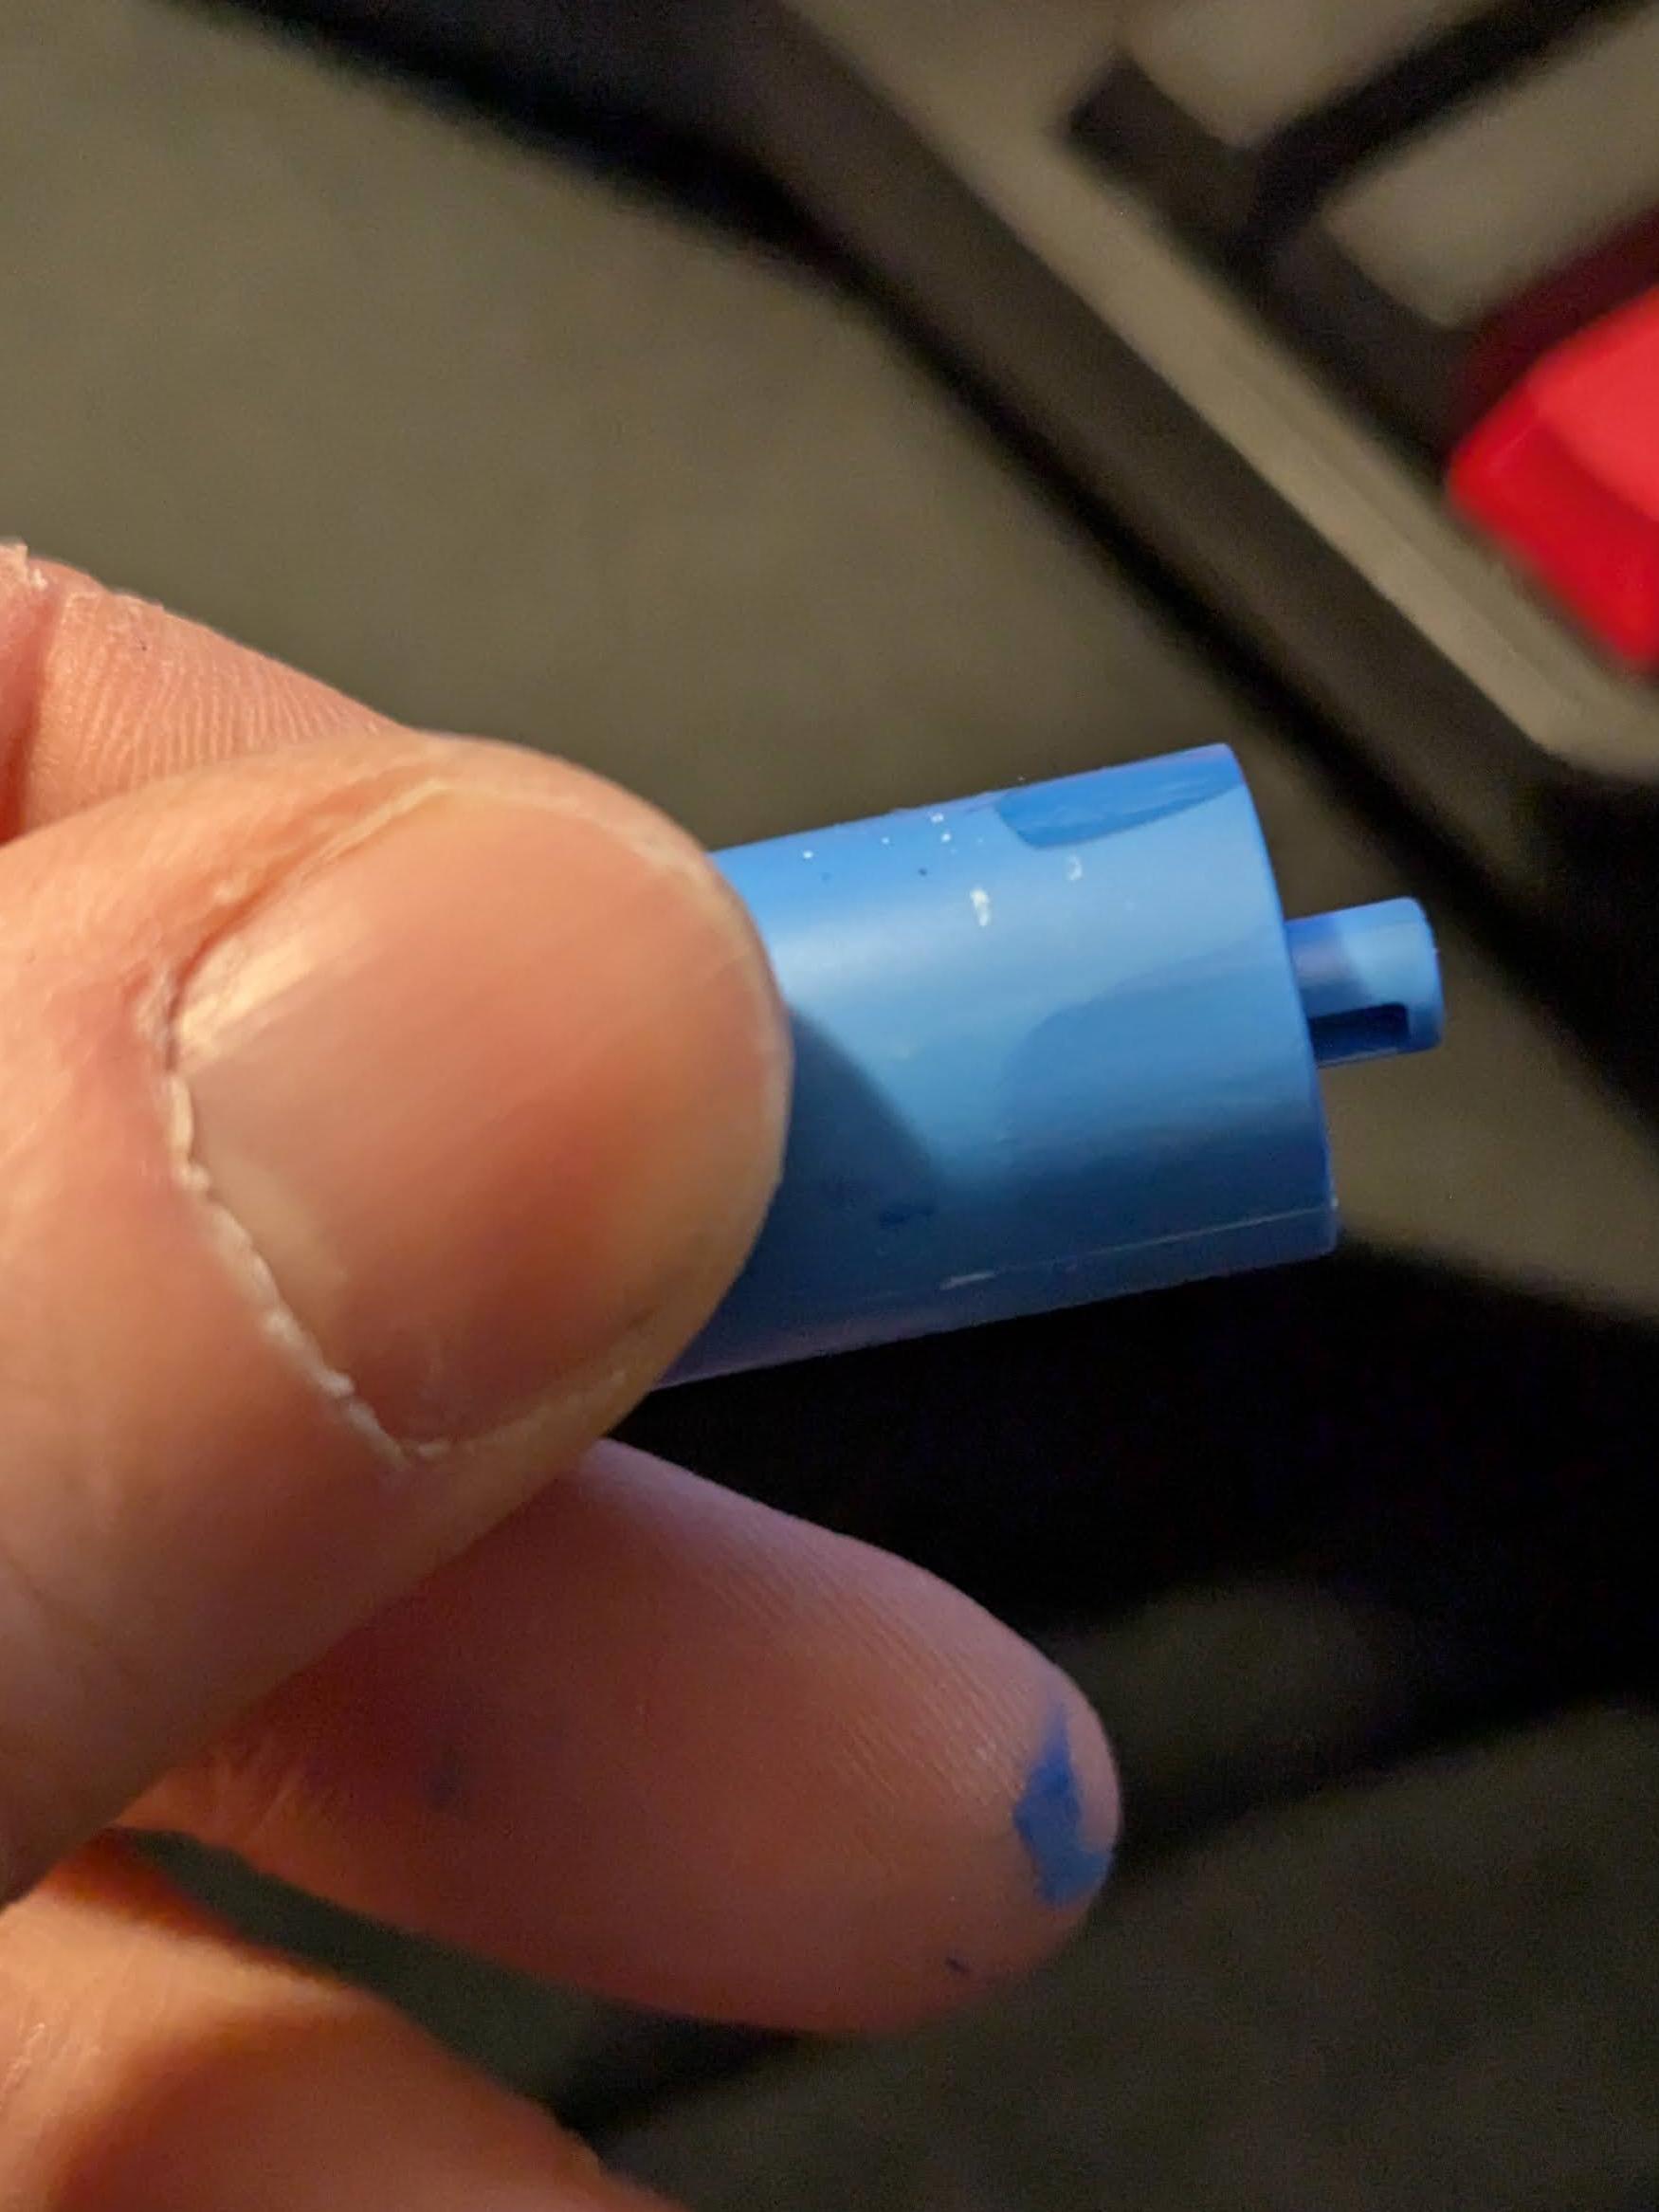
I'm like 90% done, but lost a part and have to 3D print a replacement which is taking a while
https://mhoff.neocities.org/2025/02/10/roll_progress has a more detailed blog post.
 |
 |
|---|
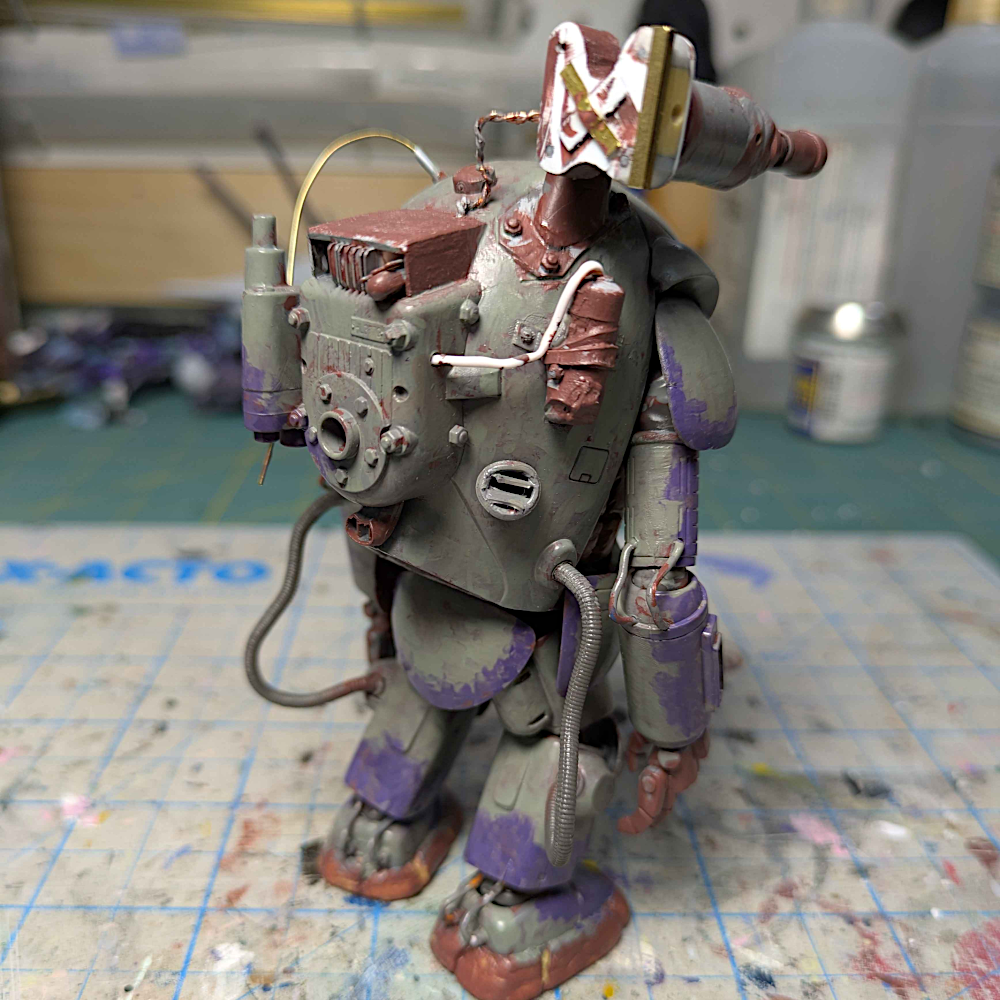
For my salvaged work-in-progress, I'm going to finish up a 1/20 Raccoon. It is a Wave kit that I started in 2024 and was making good progress on until I accidentally aimed my heat gun at the back right and melted several scratch build parts slightly. The intention with this kit was to push my scratch building skills up on the detail front, and so I've added miscellaneous ducts and vents and cabling and tools, some puffy snow slippers, and a whole camera system in place of the standard recon equipment. Some loose, fabric-like joint covers may come once I settle on a pose for the base, as this was imagined as a long-distance recon unit for a snowy environment.
As I mentioned, I aimed my heat gun at the kit while it was too hot. Accidents happen. Sometimes glue spills where you don't want it. A peg snaps. I didn't intend for these pieces to look malformed, and now that I've taken time (too much) to think on it . . . I'm going to leave it be. I'll incorporate some more raw metal look to the areas affected, some heavier rust and chipping, and let this mistake exist on the kit. It's fine for something to be not what you intended as long as you think of the steps on how to address it. I shouldn't let something like this stop me from continuing to have fun and many of the materials in this hobby are reversible and reproducible.
My next step will be to finalize the base coat painting. It's all hand painted with lacquer acrylics, which is my main way to paint. Then I'll have to do decals and following that, a first for me: a winterwash. The idea is to apply white paint in a method that lets you blend and splotch and remove it to represent the idea of some quickly-applied paint as a snow camo. Historically in WW2, the materials used didn't adhere well and easily slough and scrape off. Since I am hand painting lacquer acrylics, I have three options for layering and representing the paint coming off. I can carefully apply the paint. I can apply mold release to the kit so I can easily peel off paint. I could add calcium carbonate to the paint as an extender, which means less thinner intermingling and so a distinct physical layer can form.
Hello! This will actually be the first Build Club that I will be participating in. I got on Cohost pretty late (like for 3 months before it went down??), but I really liked browsing the posts from the plamo community there.
I kinda have too many kits that are in progress, mostly because I stalled on some part, or just got distracted by another new kit. Just sitting on my desk were the heads of three kits that I have been slowly working on.
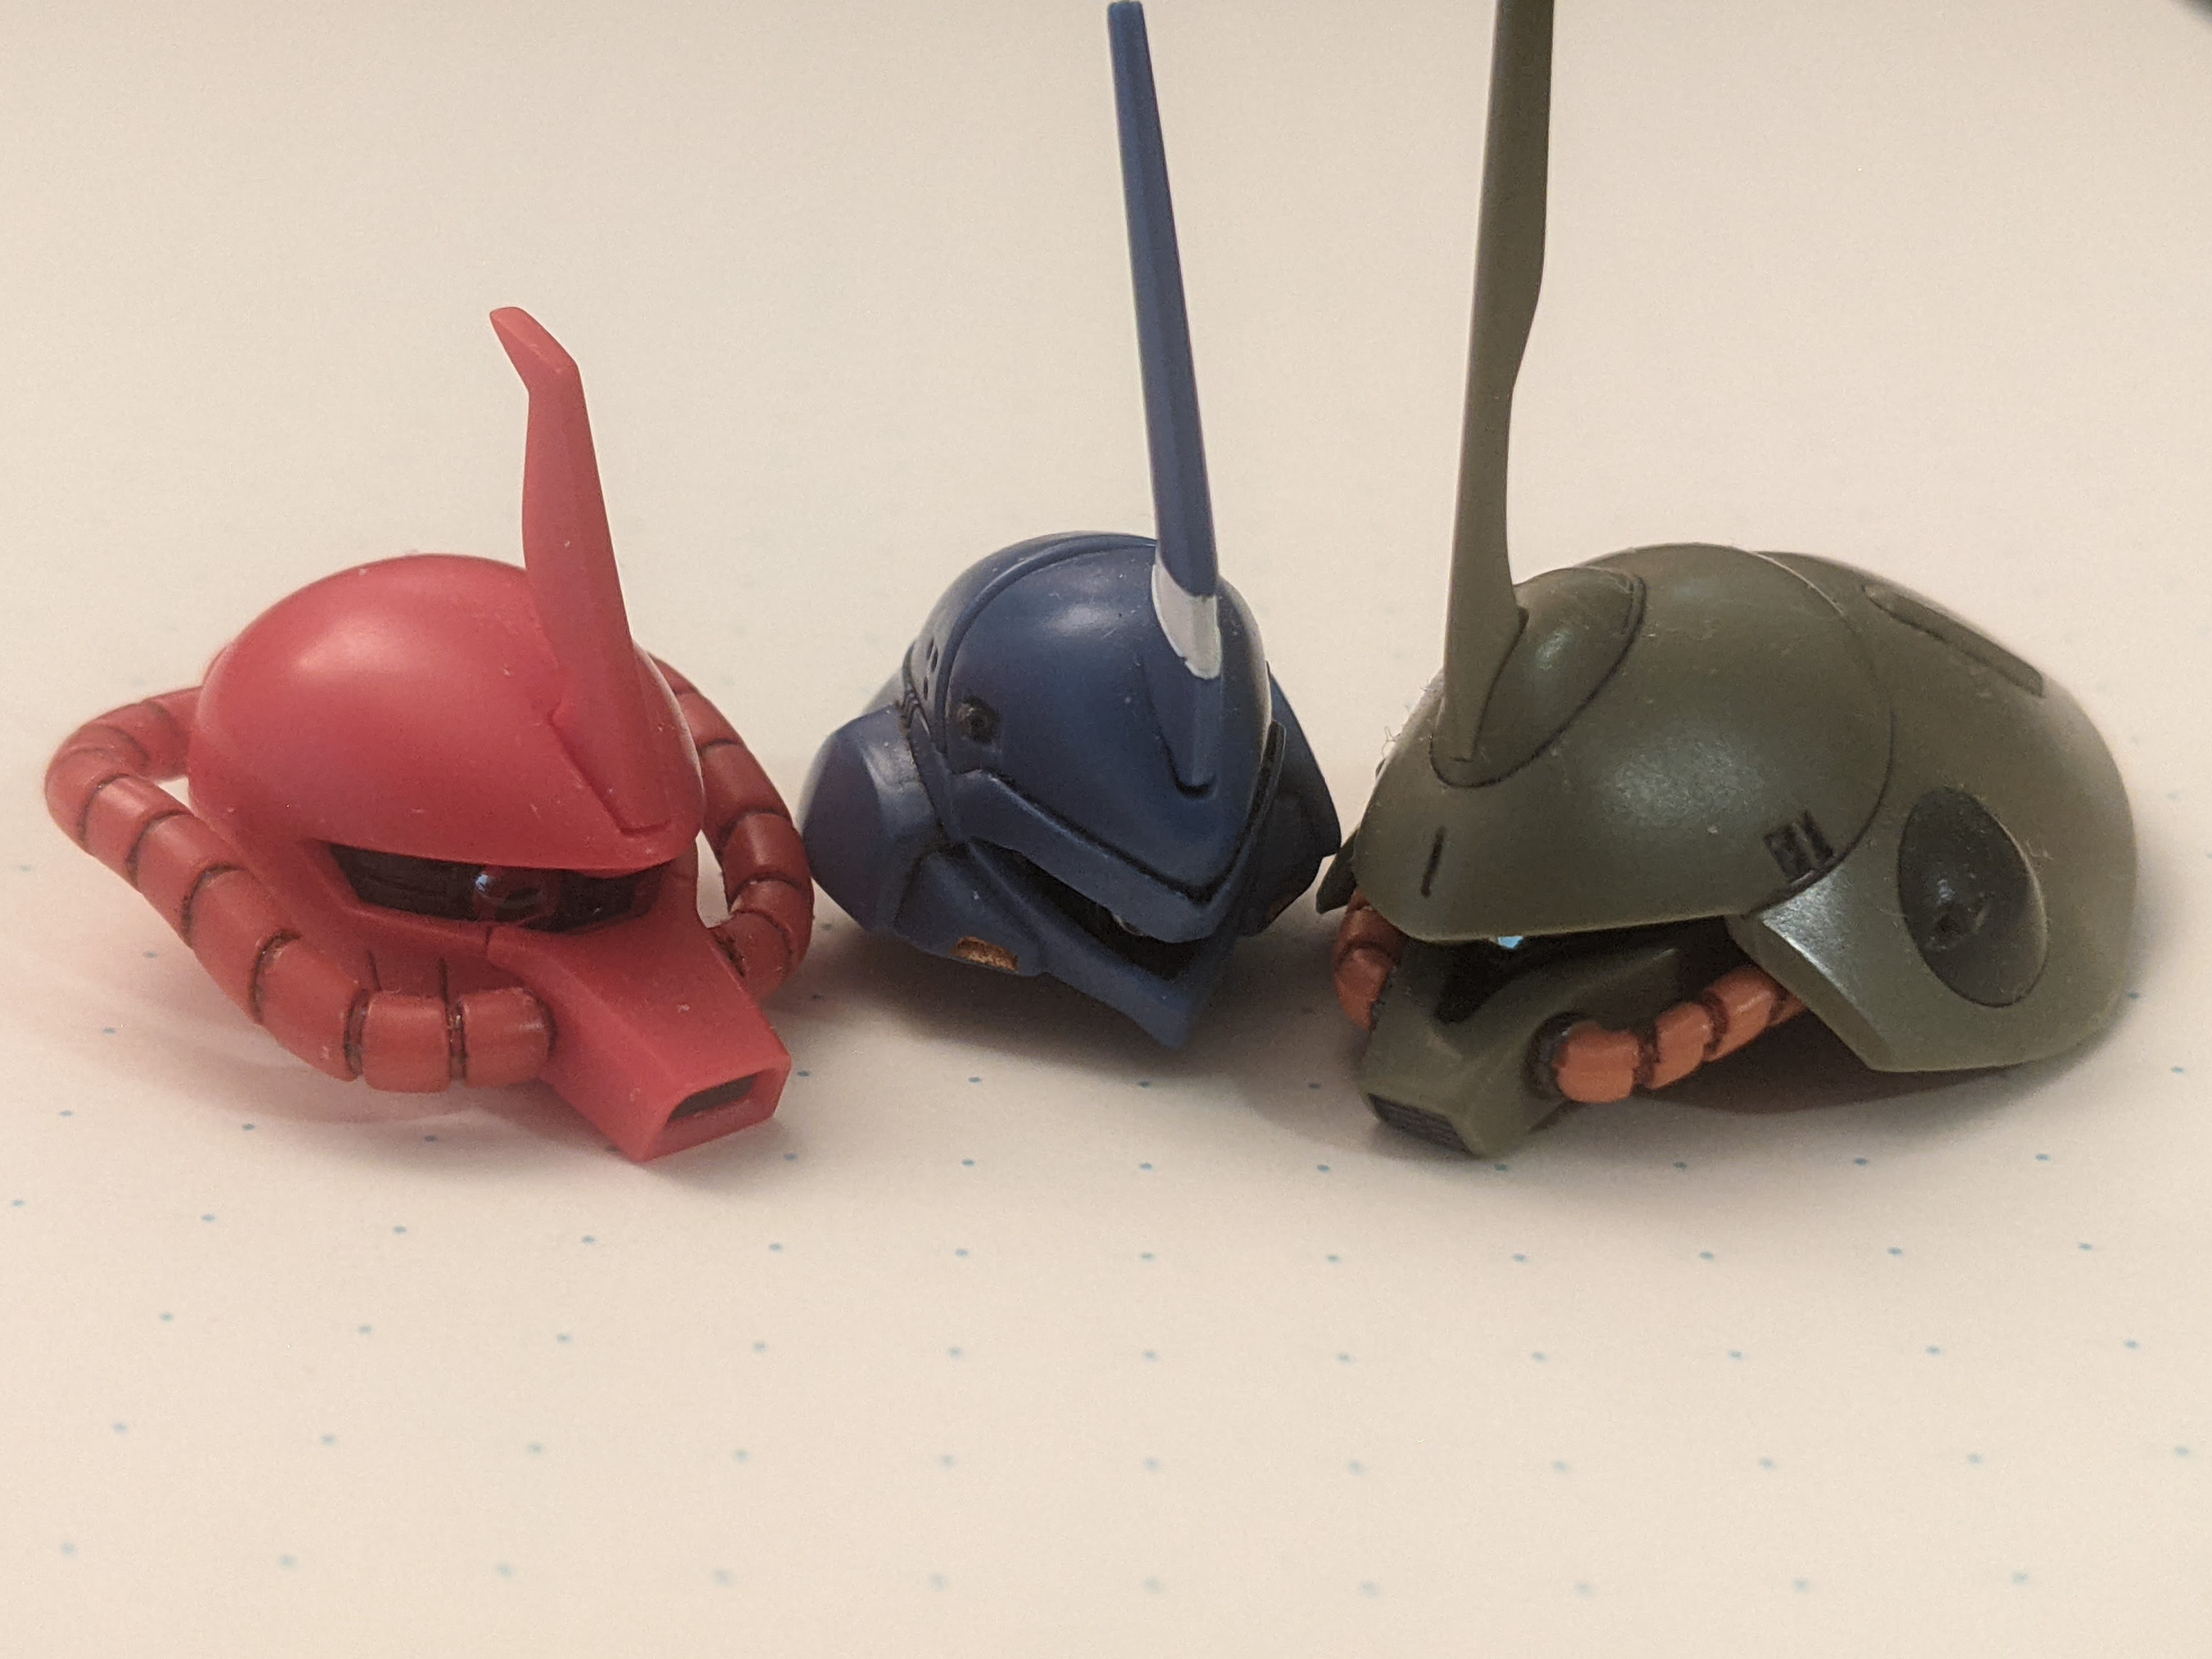
I decided to try and finish up the HGUC Marasai, because it's the furthest along. These are the assembled parts, with some parts panel lined, and a little bit of paint applied on the backpack. The lens sticker for the head was replaced with a third party kit.

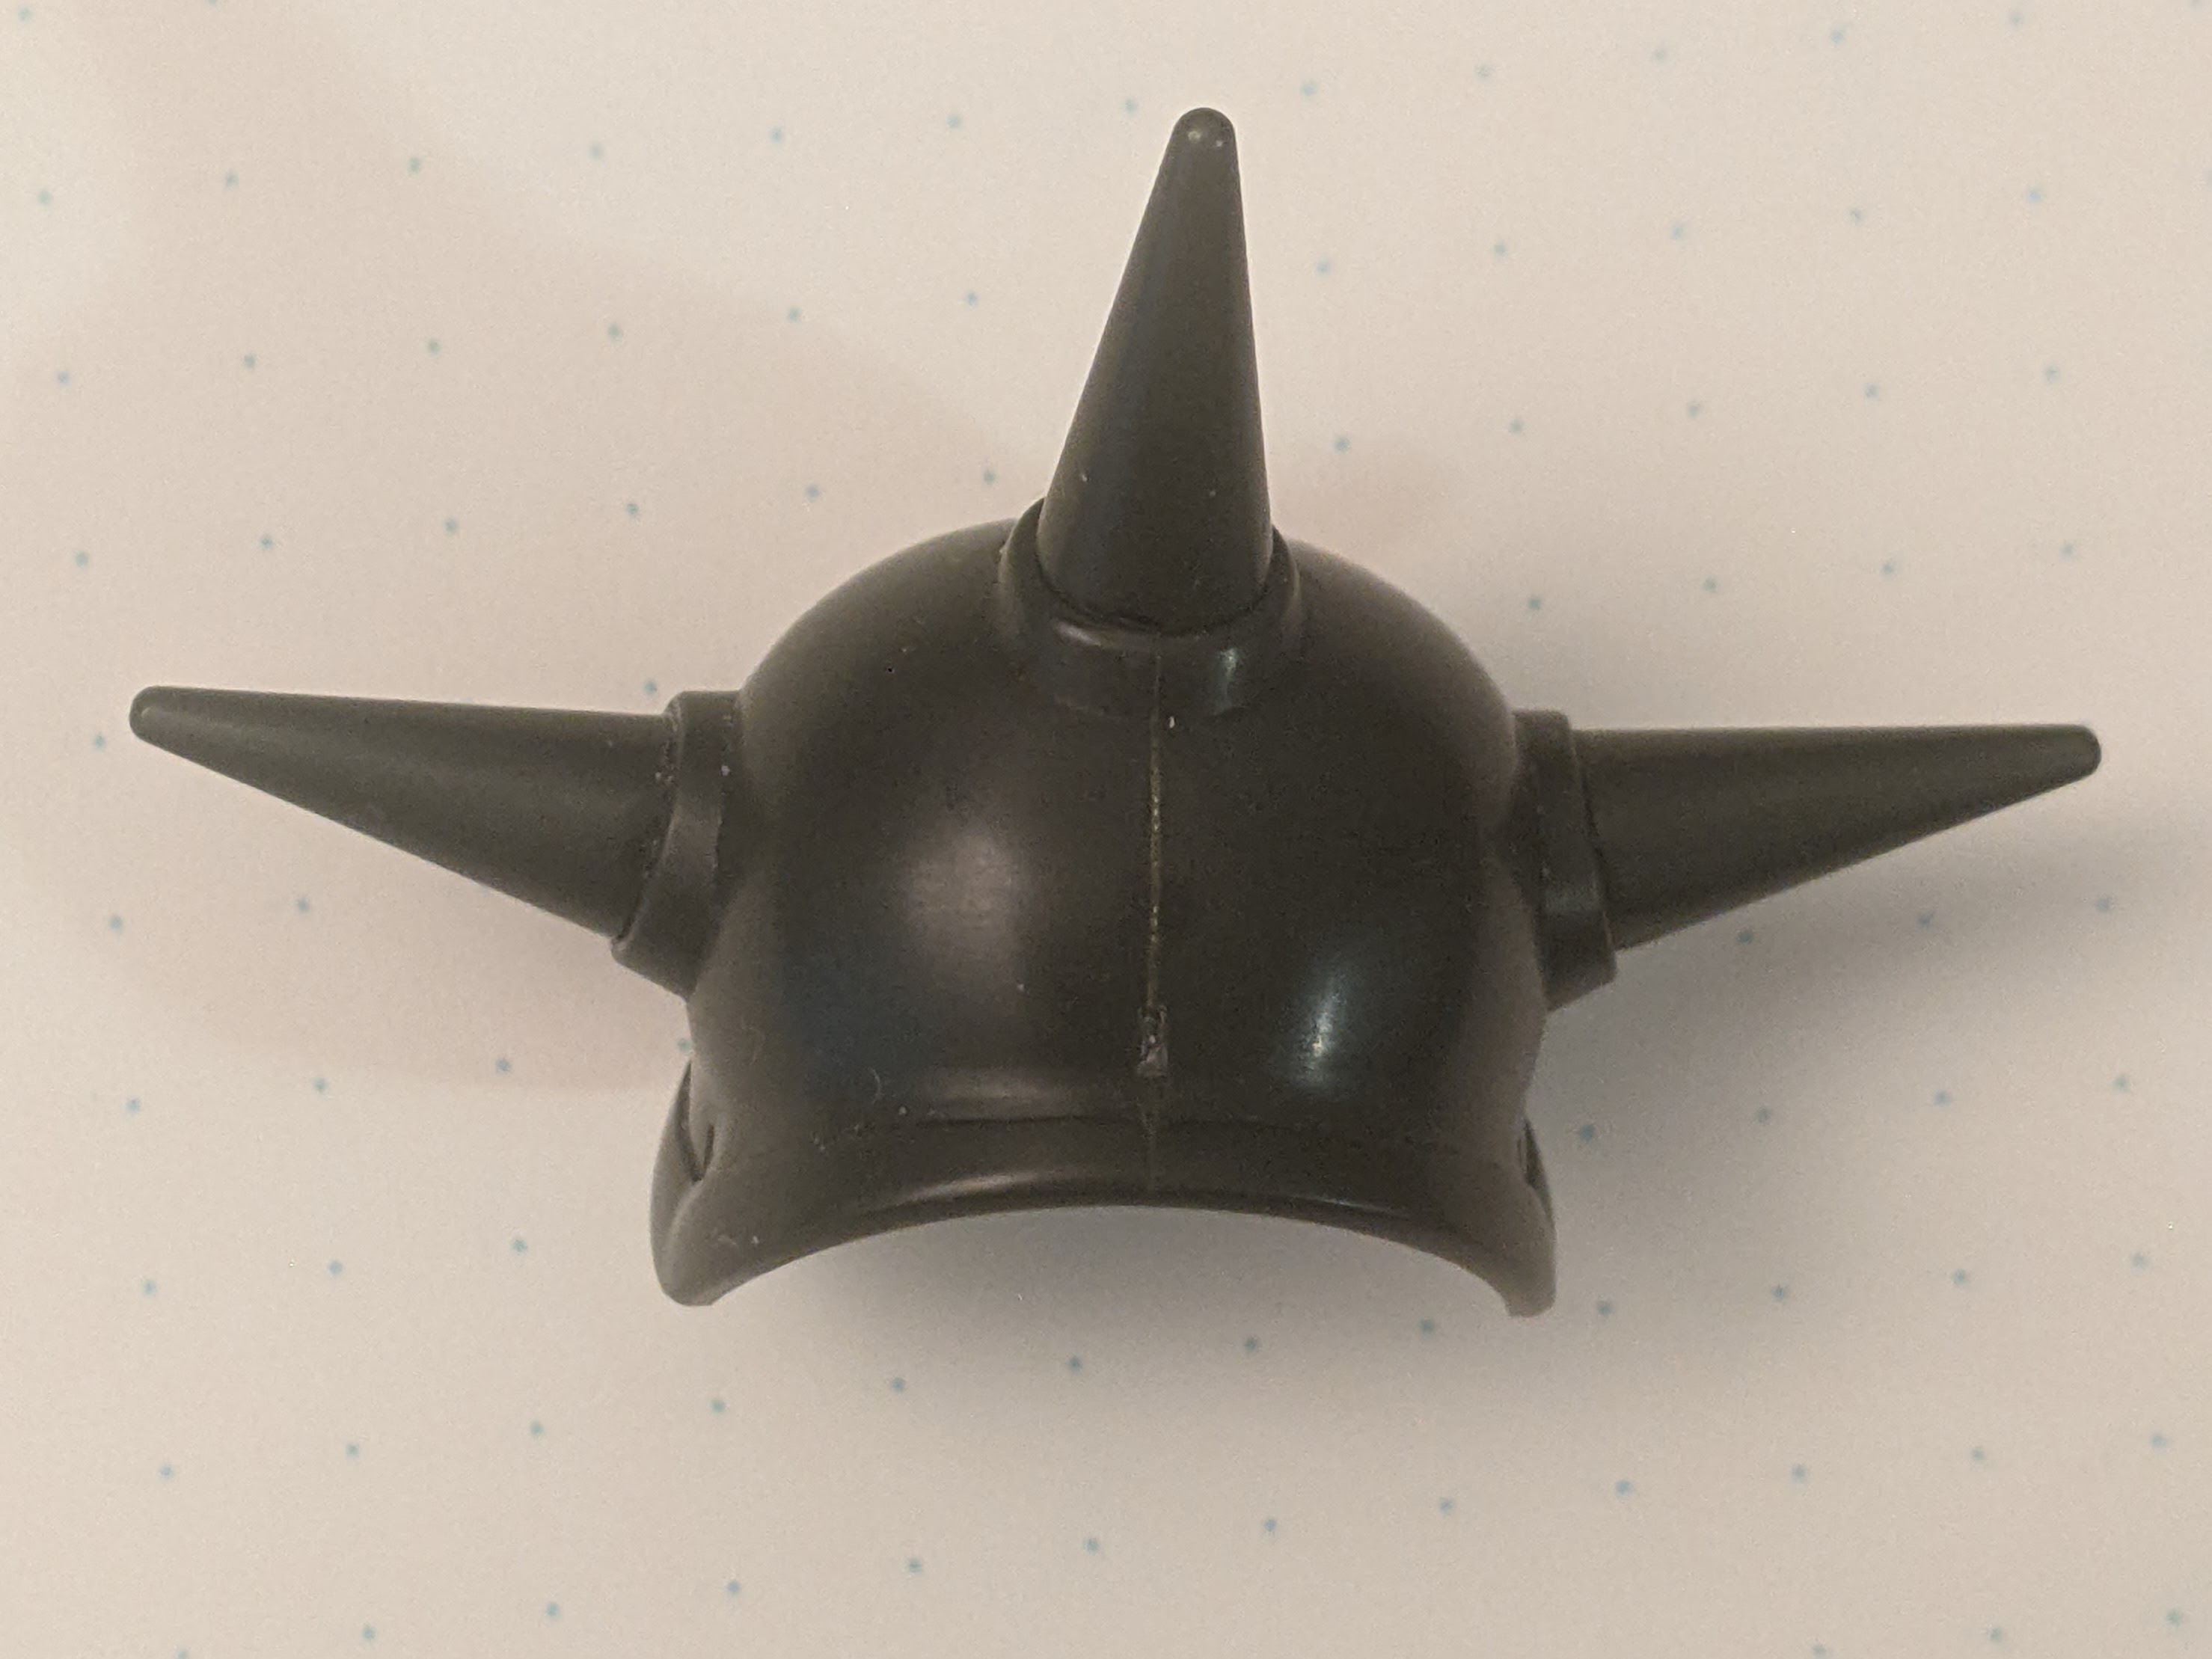
I got this kit cause it was heavily discounted in the store, and I wanted to practice gluing and removing more seams. This kit is based on a 2005 kit, so there are some pretty noticeable seams in spots. I stalled on working on this kit due to the seam on the shoulder armor though. I don't know if I messed this up with too much glue, or if I got too much on the surface, but there is this really noticeable white line now. It's also kinda noticeable on the forearms. I tried to cover it with a red paint marker, but that looked kinda bad, so I stripped it off. Wasted probably several hours on this one piece, so I kinda got fed up with working on it for a while.
By the end of the month I at least want to finish assembling and panel lining everything. I'll make a second attempt at painting the shoulder, and finish painting up some other small details. If I have time I do want to try and hand brush a matte varnish for the first time.
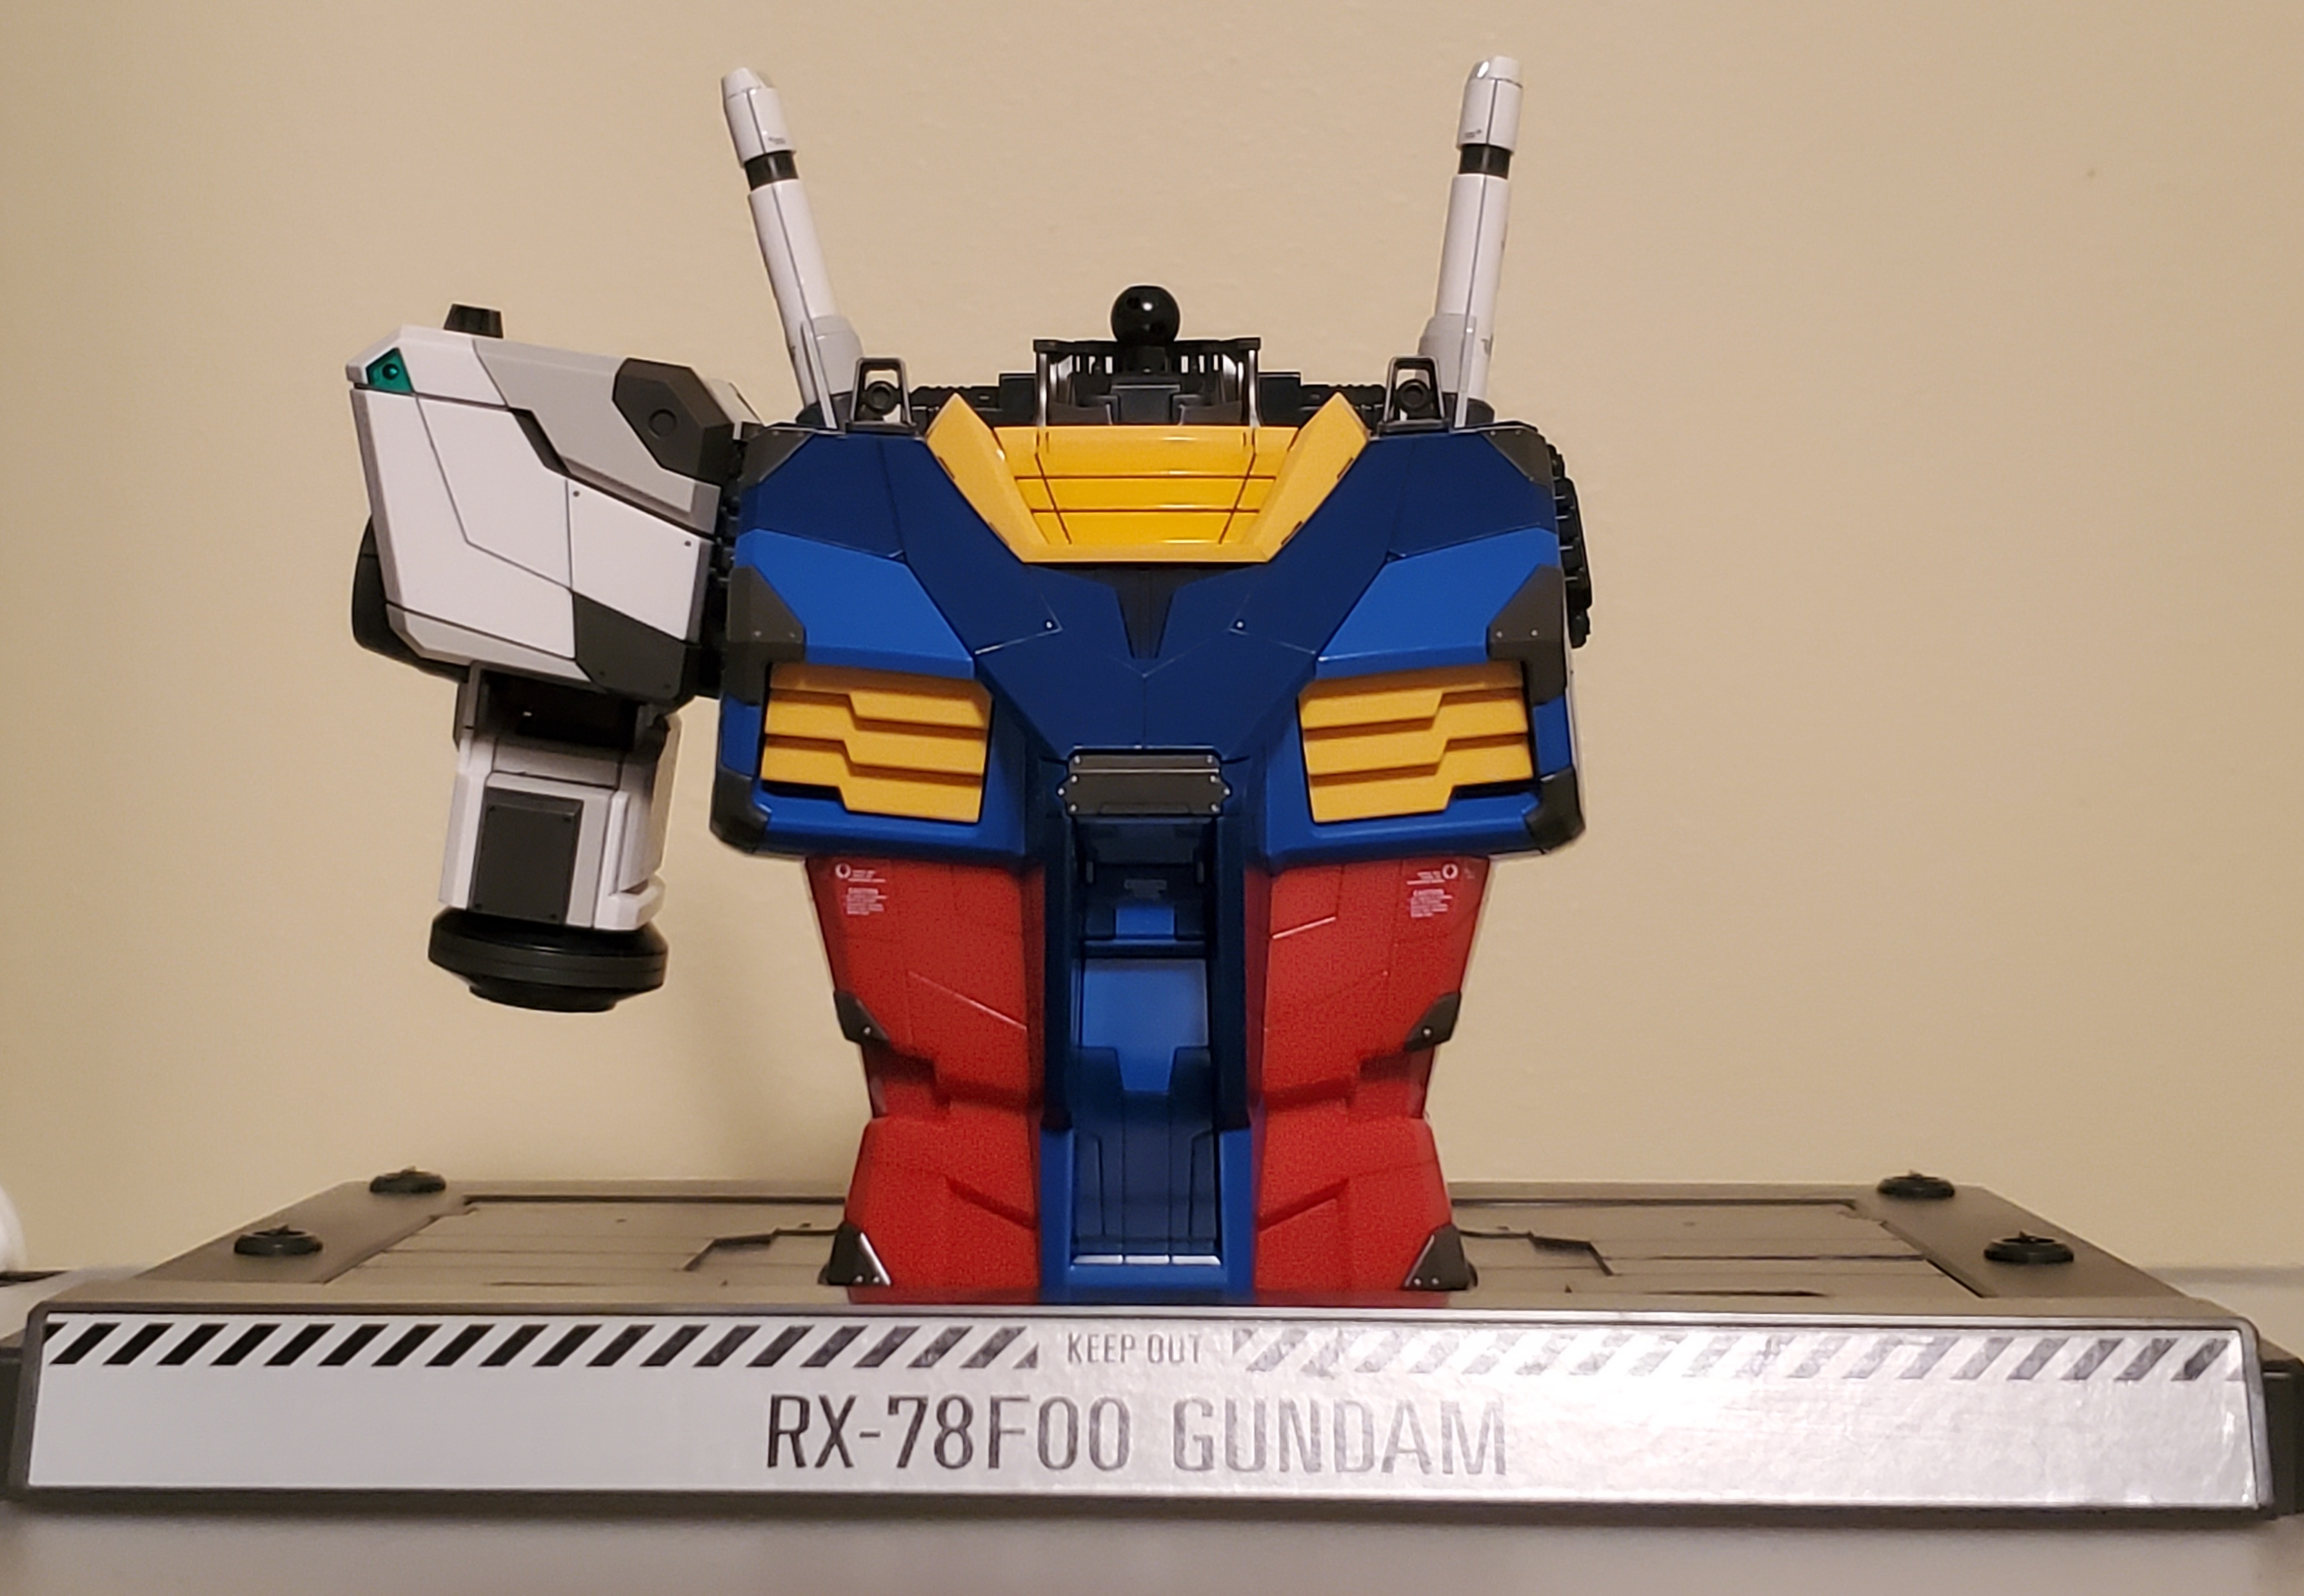
For this Build Club, I'm getting back to the 1/48 Gundam RX-78F00 Bust Model. The F00 has always has always been a divisive design due to how busy it is, with even more color separation than the G301. My guess was that it was designed to be seen in 1:1 and it would look much less busy in person, and I found that to be true when I got to see it in person in Spring 2023. Of course I wasn't going to leave there without a kit, but I found that the 1/144, 1/100 and even the gigantic full 1/48 didn't capture the sense of scale. Funnily enough, it was the 1/48 Bust Model that best captured the sense of looking up at a towering machine, so that's what I picked up for my pile of buildable souvenirs.
...That was almost two years ago now, and this kit has been sitting half-built for over a year. The base kit has nice high-gloss plastic with good color separation, so I'm sticking to panel lining and stickers... almost. When checking reference footage, I noticed that the rivets are quite noticeably metallic silver. I could go all out and reproduce the shape of the rivets, but for now I'm painting them in with enamel silver to get them to pop like they did on the life-size model.
1. G30 Gundam aka the original 1:1 Gundam aka RG (1.0) aka MG 3.0